Purchase request can be created in two ways:
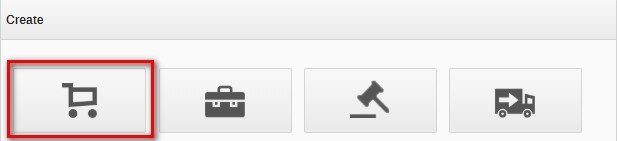
a) on the main page using the widget create, click the button new purchase request:
b) in the procurement in the purchase request list tab, click the new purchase request button in the upper right corner.

Regardless of the method of creating demand, a window will open in which you should give the name of the purchase request, estimated value and the type of purchase. Then click the save button.

After clicking the save button, additional fields will be added. Select the commodity, organizational unit and potential suppliers, and complete the remaining fields according to your choice or description of the template.
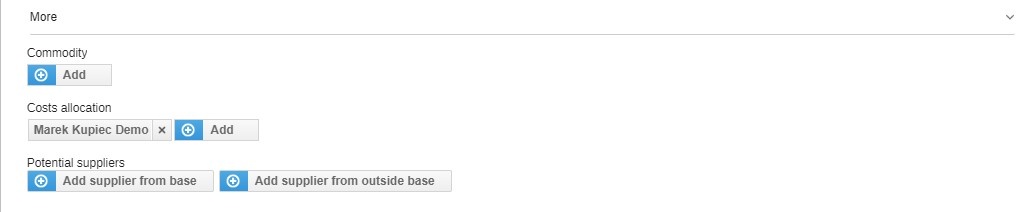
By creating a new purchase request, the user can indicate the organizational unit and category for each line in the demand. In the first place it is necessary to indicate these parameters for the purchase request, then the system based on these settings allows you to choose the right value for each purchase request line. After adding the product, click the save button to start the allocation.
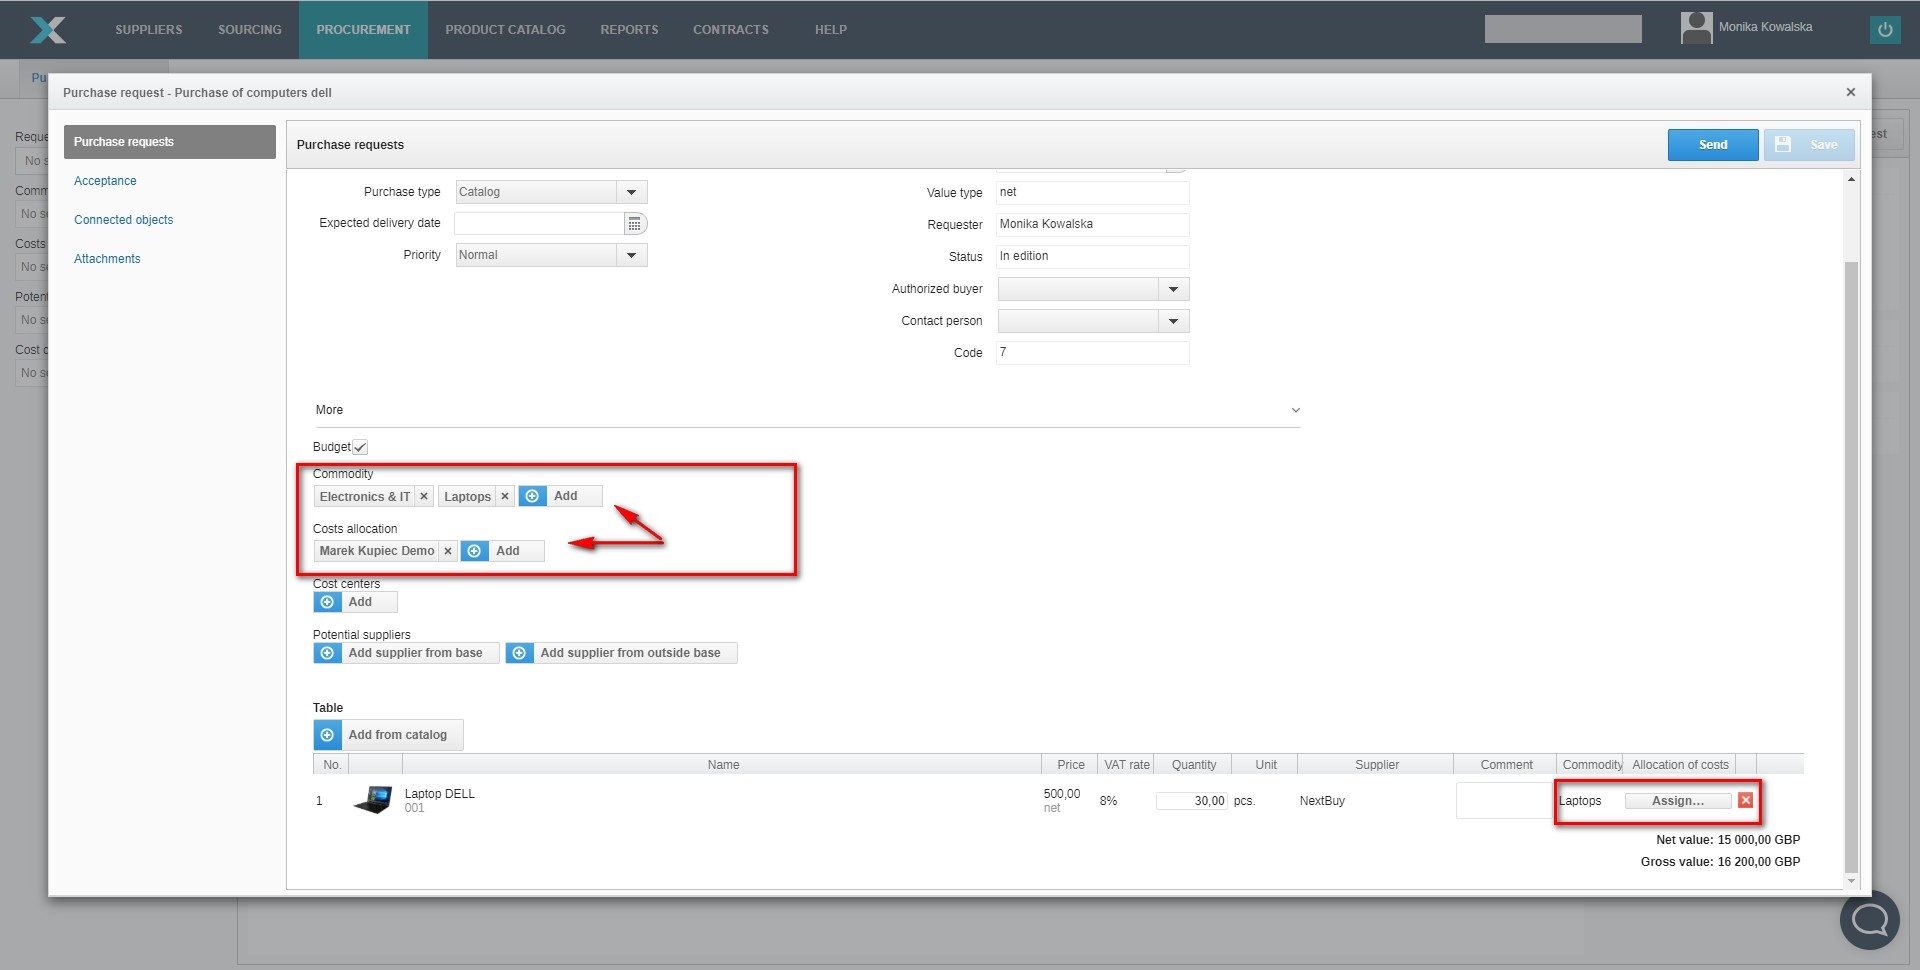
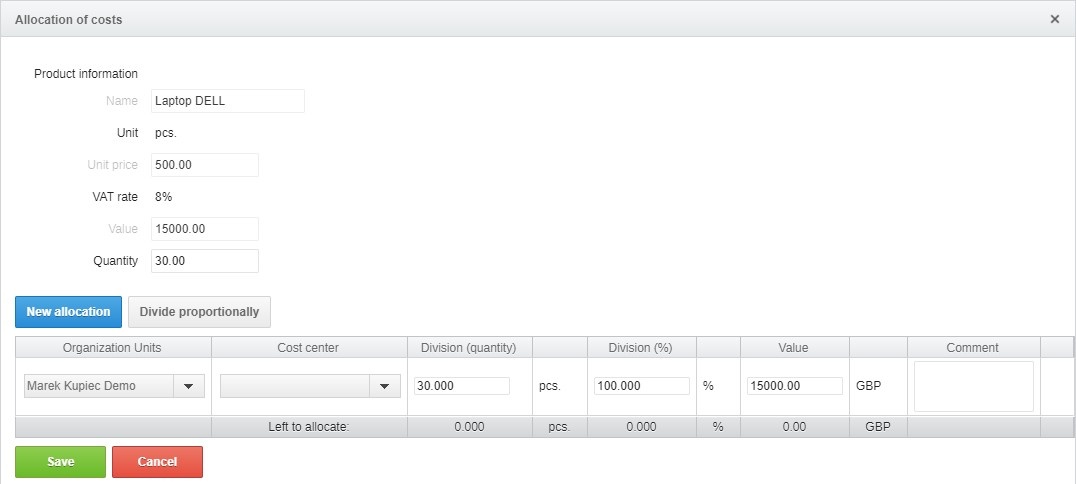
Commodity will be able to be changed directly in the purchase request line. In order to allocate, in the purchase request line in the additional section, click Assign. A new "Cost allocation" form will be displayed in the new window, in which the user will be able to make changes in the product information area and indicate the appropriate organizational unit, and if it will require the situation, allocate costs to multiple organizational units. The default value will apply to the allocation for one organizational unit.
The allocation of costs can be made via the division options (quantity), division (%), Value or Divide proportionally.
The option to divide proportionally allows for an equal allocation of costs between designated organizational units.
Changes will be saved after clicking the save button.
After filling in the fields, save the demand state, once again click on the save button. The demand can be closed. It will appear first on the list of requirements with the status in preparation. To edit them, click on the pencil icon, and to delete them, click the cross icon. To send the request for acceptance, click the send button.
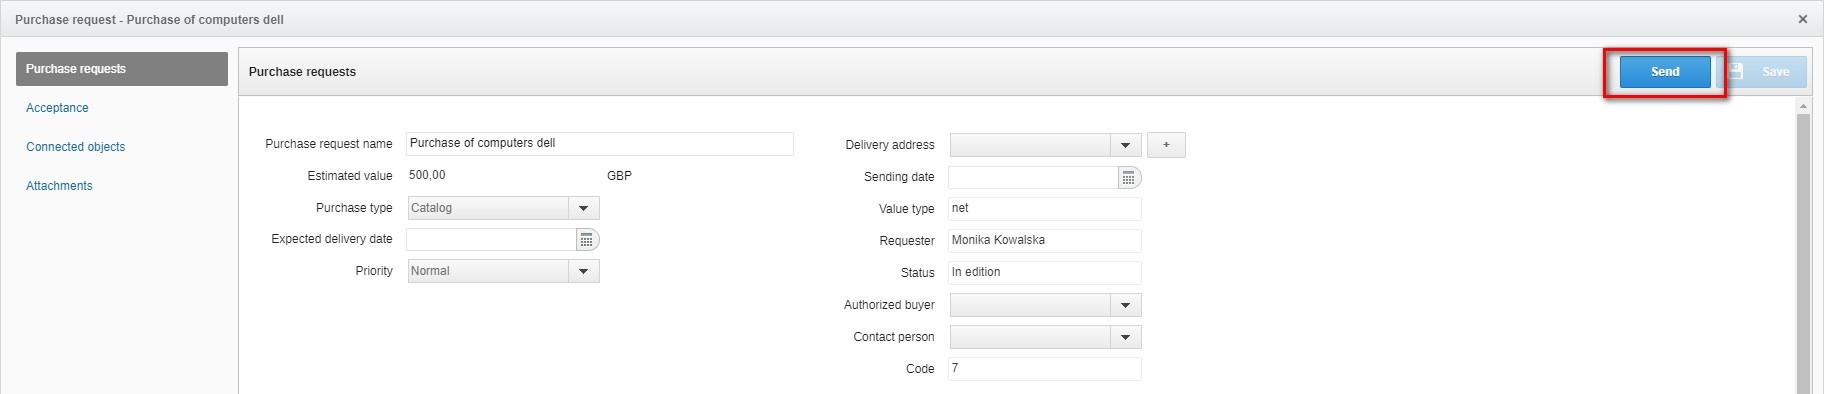
After sending a request for acceptance, it can not be edited anymore. Both save / send buttons become inactive.
By clicking on the acceptance tab, you can see the status of accepting the purchase request.

If a message is not found, the person accepting the level or the desire to add additional acceptance should add the accepting user by clicking the Add accepting user button.

Then select the level of acceptance.
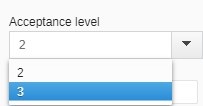
Tick the additional accepting checkbox and click the select button

At the moment when the purchase request passes the acceptance process has the status during approval.
After the end of the acceptance process, the sent request can be either accepted or rejected.
If it is necessary to create a similar purchase request, it is possible to create a copy of the demand by selecting them in the list of requirements and clicking on the button create a copy.
Also check: